
Imagine your child not just using websites but building them, and seeing their own creation appear on screen! Yes, this is possible with HTML! As its name suggests, HyperText Markup Language is the building block of the internet. HTML is what makes websites work. It organises text, pictures, and links and gives them structure. HTML is a powerful tool that can help your child learn essential tech skills while also letting them use their natural intuition and imagination.
This piece is easy for kids to understand because it uses clear comparisons and simple steps that keep learning fun and engaging. We’ll talk about what HTML is and why it’s essential to learn it. Then, we’ll start a fun, hands-on lesson on how to make a simple web page.
By the end of this guide, your child will have built a personal webpage complete with headings, text, images, and links; no magic required, just HTML. It will set your child on a path toward confident, creative coding.
HTML: The Building Block of Every Website
HyperText Markup Language is what HTML stands for. Like bricks that fit together to make a structure, HTML is the set of building blocks you use to make a web page. Imagine it as a giant Lego set: each “tag” is a brick that tells the browser (Chrome, Firefox, Safari) how to display content.
- Tags are written in angle brackets, like <tagname>.
- Opening tags like <p> start an element.
- Closing tags like </p> end it.
Take this simple HTML tag as an example:
<h1>Hello World</h1>
<h1> is the first tag in this string. It tells the browser to make a big, important header. What will show up on the online page is the words “Hello World.” The last tag, </h1>, tells the computer that the header is complete. This kind of tag helps divide your web page into different parts, like headers, text, pictures, and links.
Every HTML page follows this structure:
<!DOCTYPE html>
<html>
<head> … </head>
<body> … </body>
</html>
Here,
- <head> is like the page’s backstage area. It holds metadata, such as the <title> (what appears on the browser tab), links to fonts or a separate CSS file, and SEO tags.
- <body> is centre stage: all visible content—headlines, paragraphs, images, links—lives here.
While HTML lays the foundation, CSS (Cascading Style Sheets) adds colour, fonts, and layout, thus painting your child’s creation. In contrast, JavaScript brings interaction, like responding to clicks or animating buttons. In this guide, we’ll focus on mastering those sturdy HTML bricks before moving on to more complex topics.
Why HTML is a Child’s Perfect First Coding Language
For kids, HTML is more than just writing code; it lets them be creative and learn new tech skills. Kids can learn in a fun way that helps them develop their artistic and rational skills by getting into HTML. These are some of the main reasons why HTML is a great place for kids to start:
- Boosts Creativity and Logical Thinking: HTML lets kids create and organise content, which helps them think in both artistic and sensible ways. They learn how to organise information in a way that makes sense while letting their imaginations guide the planning process as they try out different tags and styles.
- Helps Them Understand How the Web Works: Learning HTML makes the framework of websites easier to understand. Kids can understand how the internet works when they know these basic things. It helps get people interested in how digital material is made and shown.
- Encourages Independent Learning and Self-Expression: Kids can use HTML to make personal blogs, portfolios, or easy websites that show off their ideas and hobbies. As they see their personal projects come to life, this kind of self-directed learning makes them more independent and boosts their confidence.
- Can Be a Stepping Stone into More Advanced Coding: Kids are ready to learn CSS for styling and JavaScript for involvement once they know how to use HTML. They can even use Python for more difficult computer tasks, which sets them up for a career in technology that will last a lifetime.
Your Child’s Coding Toolbox
Make sure you have some simple tools to help your child easily make and view web pages before teaching them HTML. Here’s how it works:
-
- A Computer or Tablet: Of course, your kid will need a computer or tablet to write, change, and see HTML files. It doesn’t have to be a fancy gadget—a simple laptop or tablet will do.
- Free Tools: For new users, the best free tools are the ones below:
- Text Editor:
-
-
-
- Notepad (Windows): A simple tool that works great for writing easy HTML code.
- TextEdit (Mac): By default, it works well as a text editor for newbies when set to plain text mode.
- Visual Studio Code (VS Code): This is a free, more complicated editor with valuable tools like syntax highlighting and mistake checks. This might help them learn better over time.
-
-
- Web Browser:
-
-
-
- Chrome, Firefox, or Safari: These computers read your HTML code and show the web page. Pick the one that your child is most familiar with or can easily get to.
-
-
- Optional Platforms:
- Saving and Viewing Files: In your text editor, choose Save As. Name the file with a “.html” ending, like “my_page.html.” Double‑click the saved file to open it in your browser and see your code come to life.
Let’s Build a Simple Web Page Together! (Step-by-Step Tutorial)
It’s time to start making your first web page! Open Notepad, TextEdit, or VS Code, or any other text editor you like, and do these steps:
Step 1: Create a New File and Open Your Editor
Start your favourite text tool first. On Windows, this could be Notepad; on macOS, it could be TextEdit. If you want more tools, it could even be Visual Studio Code. You will write your HTML code in this new file.

Step 2: Write the Basic HTML Structure
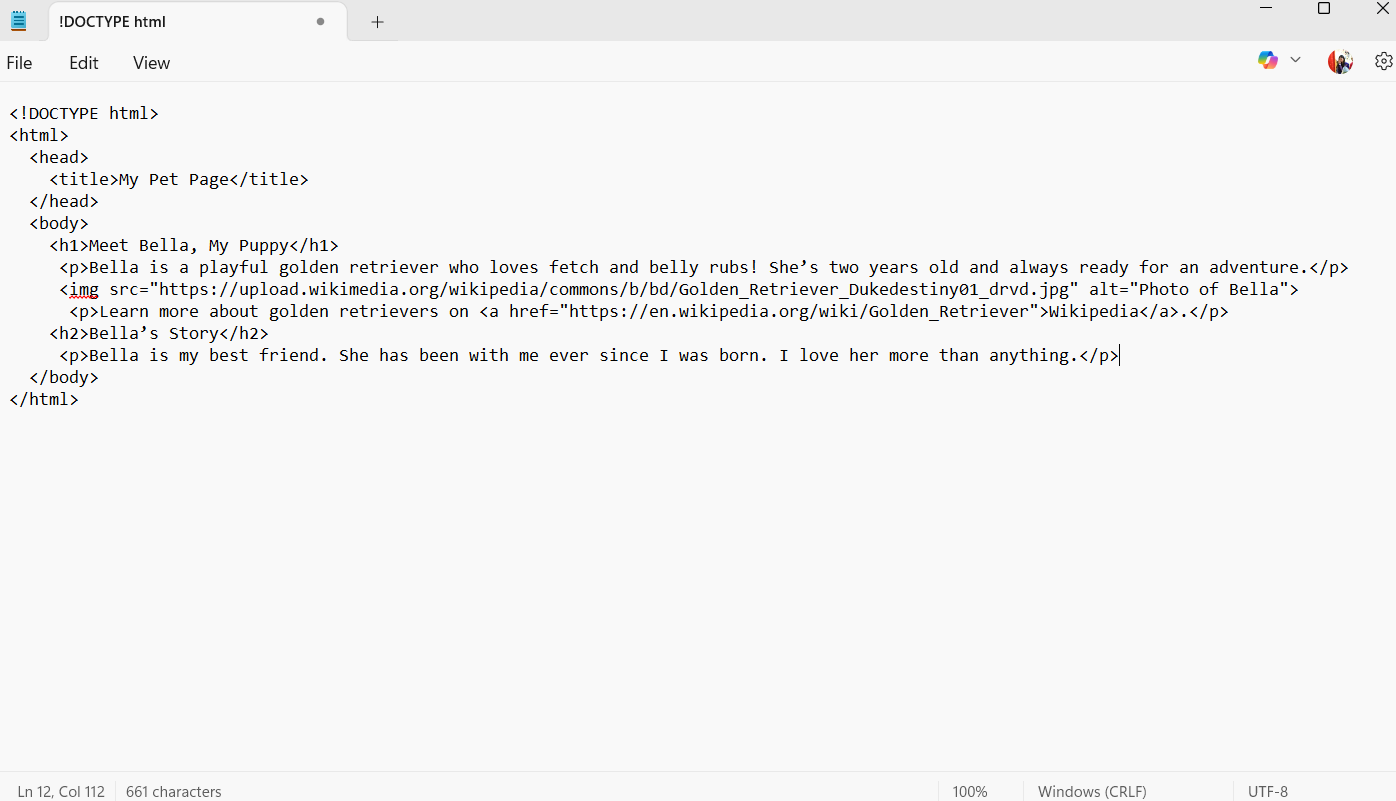
A common layout at the beginning of every HTML text tells the browser how to show your page. Let’s create a webpage about your favourite pet. To do so, enter this code:
<!DOCTYPE html>
<html>
<head>
<title>My Pet Page</title>
</head>
<body>
<!– Content will go here –>
</body>
</html>

Here’s what’s happening:
- The computer knows that this is an HTML5 page because it has <!DOCTYPE html> in it.
- The <html> tag wraps the whole thing.
- In <head>, the <title> tag gives your page a name. The browser tab shows this name.
- The viewable information will go in <body>.
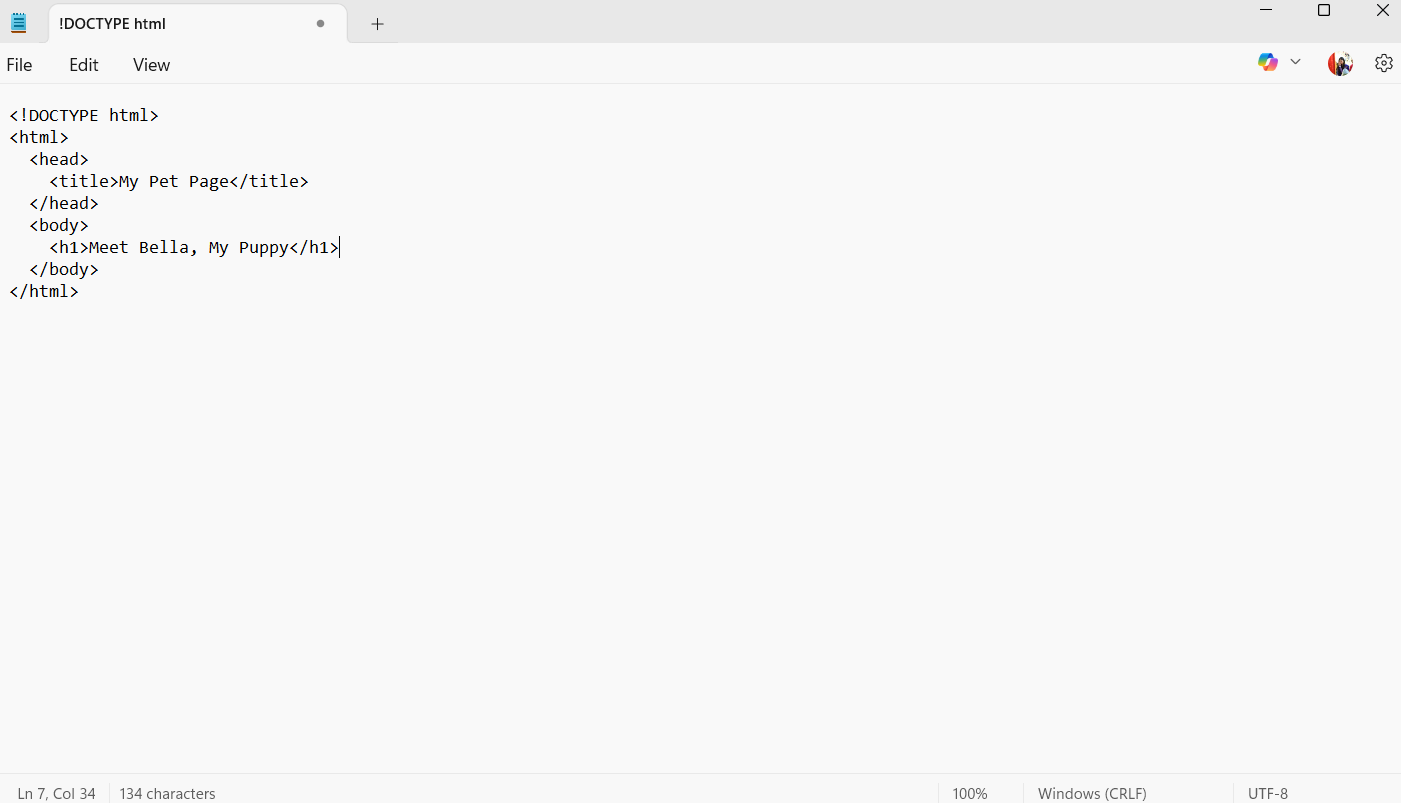
Step 3: Add a Page Heading
Make a big heading inside the <body> area to greet your guests. Type the following under the <body> tag:
<h1>Meet Bella, My Puppy</h1>
With the <h1> tag, you can make a big, bold title that tells people about your page.
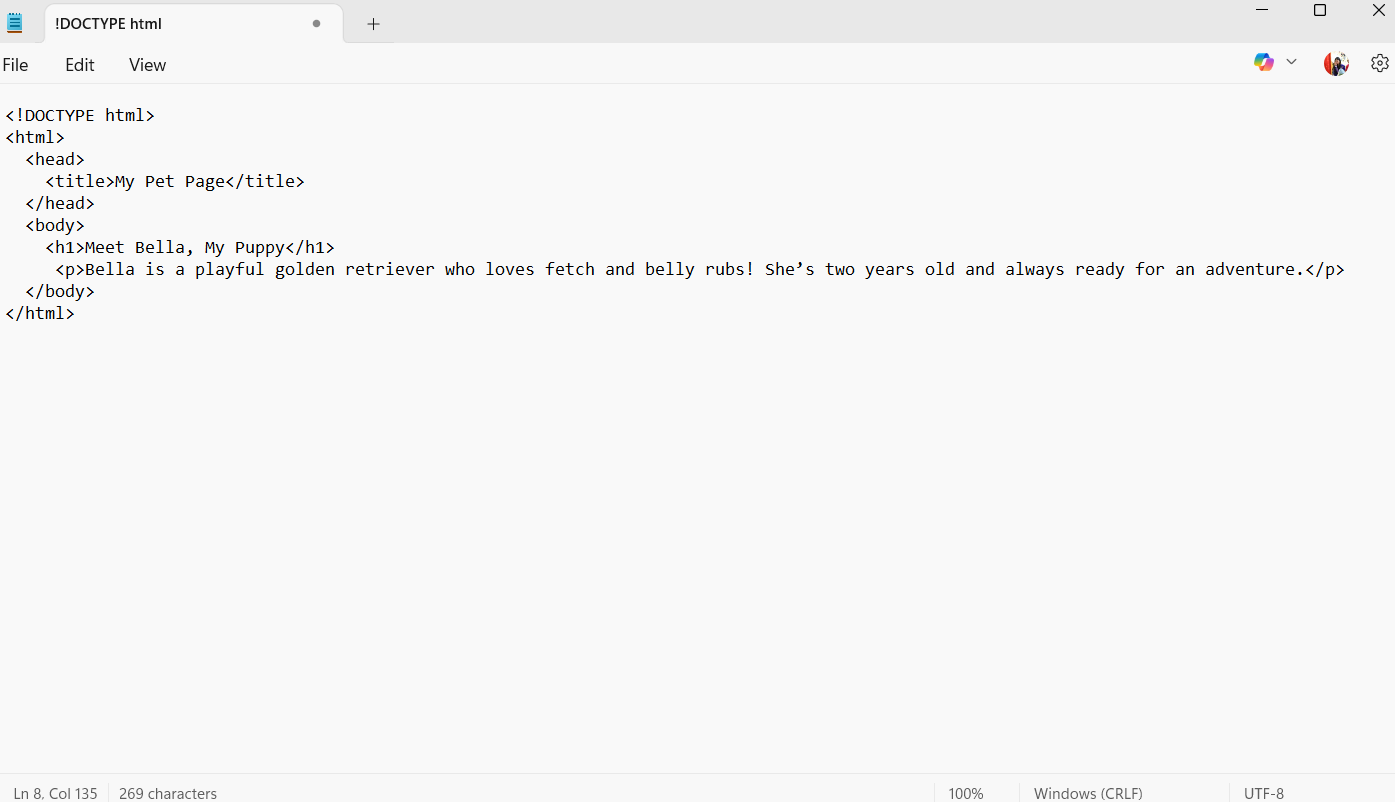
Step 4: Introduce Your Page with a Paragraph
Put a paragraph after the title that tells people a little about what your web page is about:
<p>Bella is a playful golden retriever who loves fetch and belly rubs! She’s two years old and always ready for an adventure.</p>
To make a paragraph of text, use the <p> tag. This makes it easy to write words and thoughts.
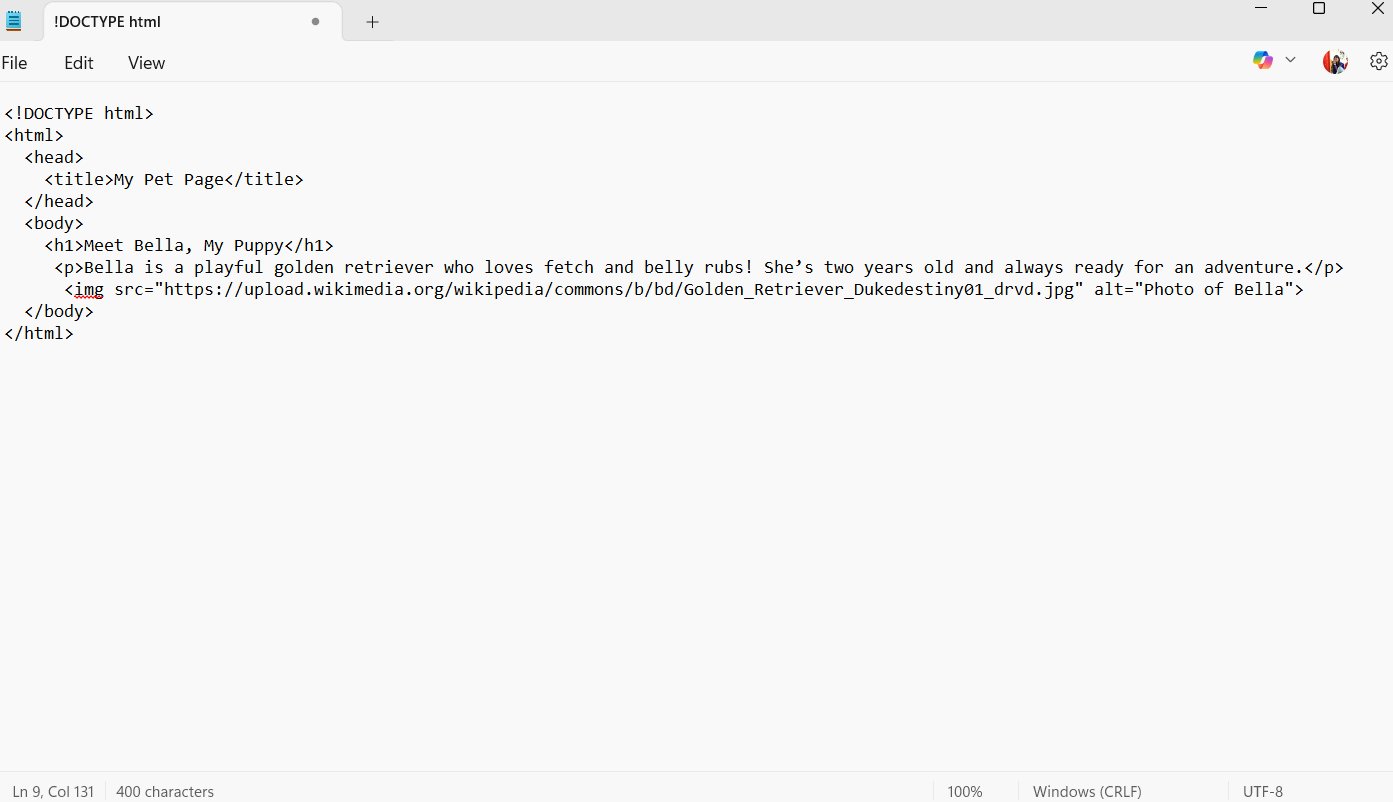
Step 5: Insert an Image
Adding pictures to your page can make it look more interesting. Pick out a picture URL and add it using the <img> tag:
<img src=”https://upload.wikimedia.org/wikipedia/commons/b/bd/Golden_Retriever_Dukedestiny01_drvd.jpg” alt=”Photo of Bella”>
- Browsers need to know where to find the picture. Thus, you must use the “img src” (image source) property.
- If the picture doesn’t load, or for people who use screen readers, the alt attribute gives an explanation.
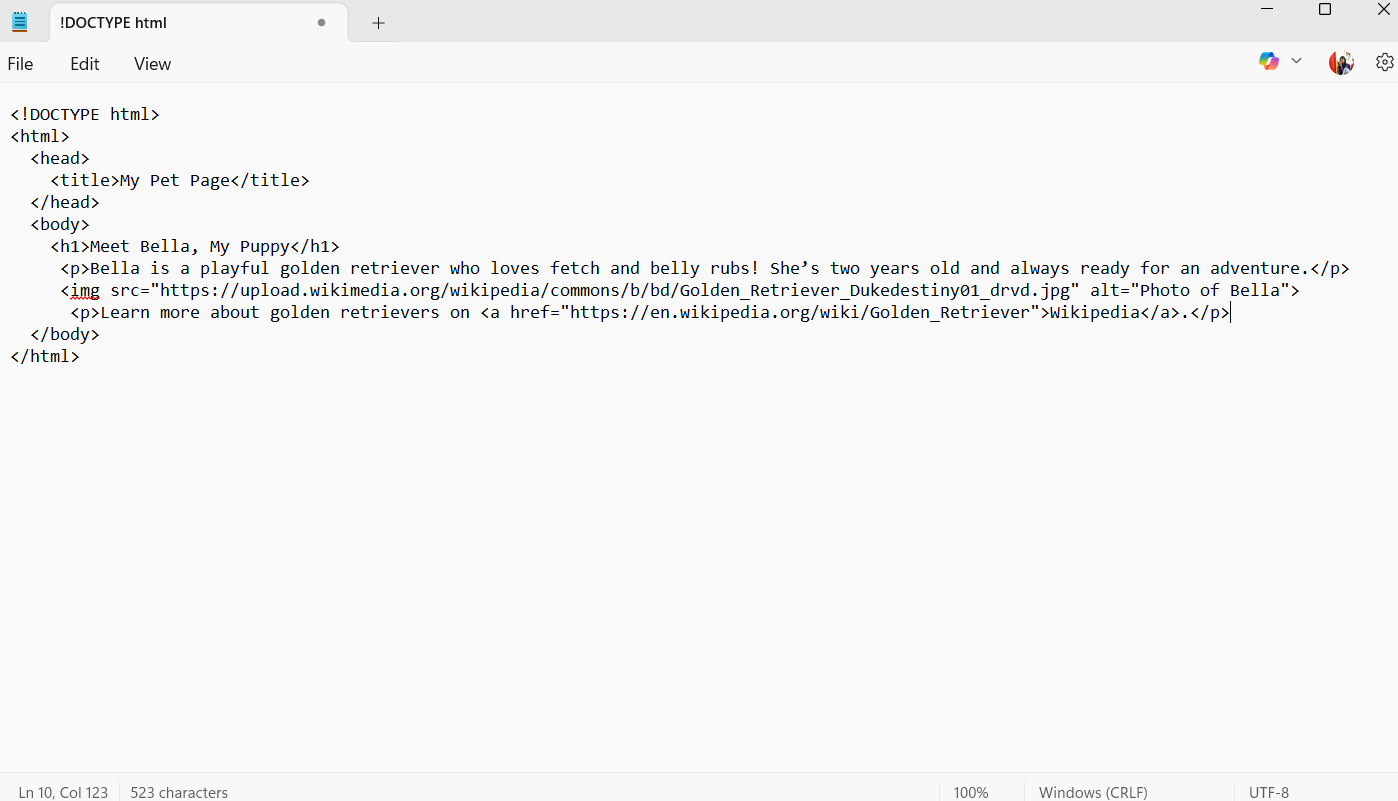
Step 6: Create a Link to Another Page:
Put in a link to make people want to learn more. One thing you could do is add:
<p>Learn more about golden retrievers on <a href=”https://en.wikipedia.org/wiki/Golden_Retriever”>Wikipedia</a>.</p>
The “<a>” tag, which stands for “anchor,” makes the text clickable by wrapping it in a tag. Clicking on it takes people to the given page.
Step 7: Customise Your Page with Additional Elements:
You can add more headings, paragraphs, or even lists as soon as you have the main parts. One way to share more information would be to add a second-level heading and another paragraph:
<h2>Bella’s Story</h2>
<p> Bella is my best friend. She has been with me ever since I was born. I love her more than anything </p>
You will learn how to use heading tags like <h2> and <h3> and organise your text.
Step 8: Save Your Work as an HTML File:
Now that you’re happy with your code, save it. Make sure you select “Save As” and add “.html” to the end of the file name, like this: my_first_pet.html. This tells your machine that the file is a website.
Step 9: Preview Your Web Page in a Browser
Finally, double-click the HTML file you saved on your machine. Your usual web browser will start up, and the page you just made will be live! Here’s what it should look like:
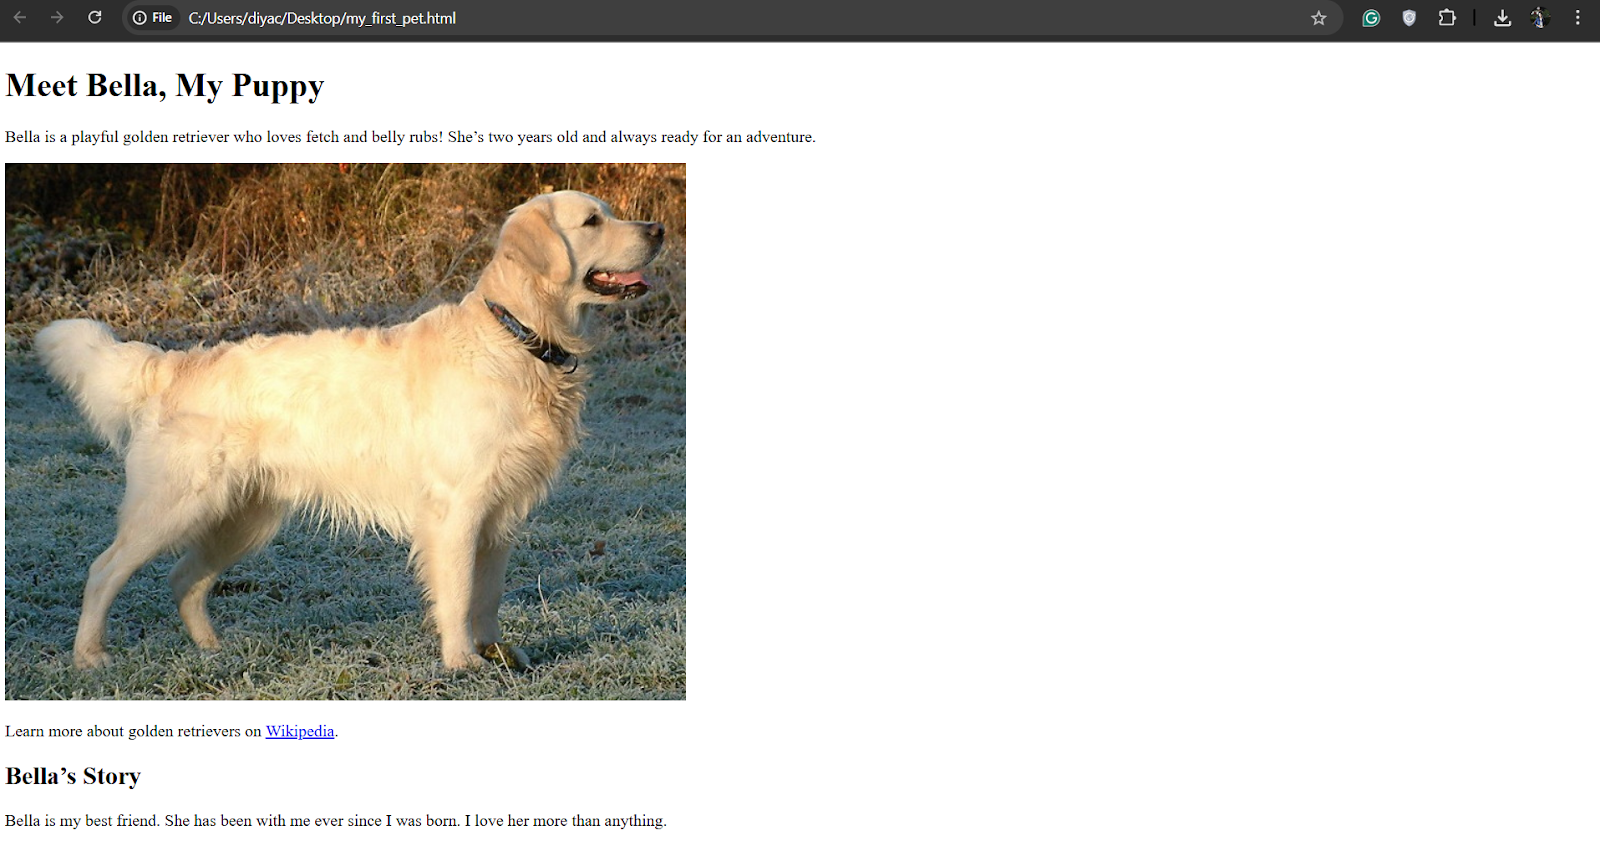
You can fix things that don’t look right by returning to your editor, making changes to the code, saving, and then refreshing the browser.
Step 10: Personalise with a Hobby Page
Challenge your child to create a Superhero Bio Page using the same steps. Give your hero a name, power descriptions, and a link to their official comic site.
Each clear step builds on the last, so kids can follow along without getting overwhelmed and see immediate, colourful results. Remember that learning to code means trying things out and making mistakes along the way. You could add new lines, change the text in your headers, or even move things around. It helps you learn more about how HTML works with each change you make.
Make Learning Fun: Tips for Teaching Kids HTML
Learning HTML becomes a joyful journey when sessions are short, creative, and centred around your child’s interests. It can also strengthen parent‑child collaboration. Try these strategies:
- Short, Focused Sessions: Limit lessons to 20 minutes so kids stay engaged and avoid screen fatigue, making each coding sprint feel achievable.
- Project‑Based Learning: Let children choose page topics—from superhero biographies to pet galleries—to foster ownership and real‑world relevance in their HTML practice.
- Visual Progress Tracking: Encourage taking screenshots before and after each change so kids can see how their code transforms, brightening their motivation.
- Gamify Challenges: Introduce mini‑quests like “Add three links” or “Create a colourful header” and reward completion with stickers or digital badges. You could introduce style=” colour: blue;” sparingly to let them choose colours.
- Collaborative Coding: Pair siblings or friends for co‑design sessions where they brainstorm page layouts, debug together, and learn communication skills.
- Use Kid‑Friendly Platforms: Tools like CodePen, Glitch, or Scratch’s web mode provide instant previews and interactive tutorials, helping kids experiment safely.
- Celebrate Small Wins: Display their completed page on a family computer or share it with relatives and friends. It can help reinforce confidence, invite feedback, and build excitement for the next coding step.
Combining brevity, choice, and positive feedback transforms HTML lessons from chores into creative adventures that spark lasting interest and fun.
Common Mistakes Kids Might Make (and How to Fix Them)
You should expect to make mistakes when you’re learning HTML. In fact, they’re a good way to learn. Let’s look at some common mistakes and how to fix them:
- Missing Closing Tags: Students sometimes forget to add the necessary ending tags, like writing <p> without a </p>. This could cause the computer to show information in the wrong way. Remind them that they need to close all open tags to keep the page’s structure.
- Forgetting Quotation Marks: When adding properties like src or href, you must use quotation marks. If you leave them out, the computer could make mistakes because it doesn’t understand the code correctly.
- File Not Saved as .html: Browsers won’t be able to tell that the file is an HTML file if it doesn’t end in .html. Tell them to always look at the file name before the test.
Tags Written in Uppercase: HTML doesn’t care about the case, but it’s best to use lowercase. Making the code more consistent helps the computer read and understand it better.
Where to Go Next? (Learning Beyond HTML)
Now that your child has built a solid HTML foundation, it’s time to explore and transform that basic structure into a fully featured site and expand your coding toolkit.
- Dive into CSS for Styling: CSS (Cascading Style Sheets) lets you control colours, fonts, layouts, and spacing. Experiment with selectors and properties like colour, font-size, and margin to see instant transformations.
- Explore JavaScript for Interactivity: Once styling is in place, introduce simple JavaScript to make pages interactive. This jump into scripting builds logical thinking and unlocks dynamic web behaviours.
- Join Kid‑Friendly Learning Communities: Enhance skills with guided projects on Tynker or immersion in block‑based logic via Alphagen’s blog on Scratch Programming. For parents, Alphagen’s 10 Tips to Raise Tech‑Savvy Kids guide offers tips to support continued learning.
- Enroll in an HTML + CSS Beginner Course: Ready to go further? Alphagen’s Web Development Camp, aligned with Singapore’s MOE standards, provides step‑by‑step lessons, hands‑on projects, and mentorship to help your child build polished, professional web pages.
By layering CSS and JavaScript onto your new HTML foundation, you’ll unlock endless possibilities for creative expression and technical growth.
Conclusion
Your kid just made their first online page, so proud of them! They’ve taken the first step into the exciting world of coding and digital art by learning the basics of HTML. This hands‑on achievement not only sparks creativity but also strengthens logical thinking and problem‑solving skills. Every time they update code and refresh the browser, they’ll experience the thrill of seeing their ideas come to life, building confidence that extends far beyond the screen.
Now, imagine the possibilities: adding colourful styles with CSS, creating interactive elements with JavaScript, or showcasing a growing portfolio of projects. To help your child continue this exciting journey, Alphagen Learning offers a friendly, step‑by‑step HTML + CSS Starter Course, designed in line with Singapore’s and the UAE’s digital‑literacy goals. We’d love to celebrate your child’s progress—share their first web page with us, ask questions, or suggest new project ideas. Let’s embark on the next chapter of their coding adventure together, because every great developer started with their very first line of code. Explore our coding programs here!