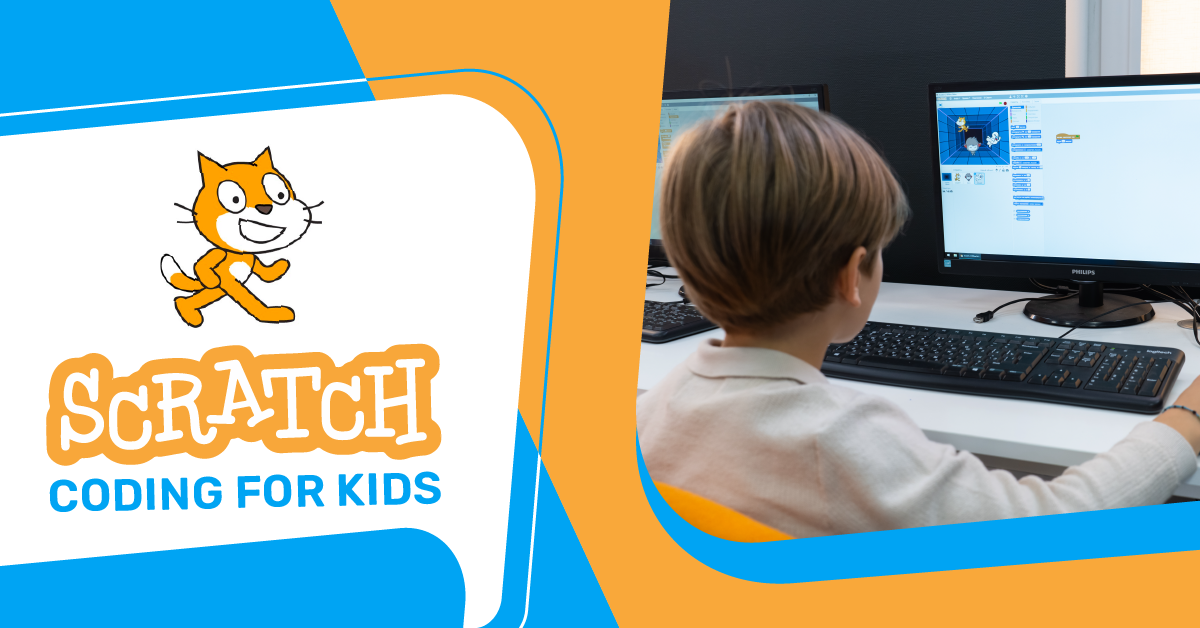
Scratch Programming Overview
Would you like to introduce your child to coding? Consider starting with Scratch. But what is it? Let’s explain.
Scratch is a beginner’s coding platform by MIT for children aged 6 to 16 years. With a simple and interactive interface, Scratch empowers anyone to create games, animations, or stories.
Scratch’s visual nature is its strength. Users work with blocks representing programming commands, not lines of code. These blocks can be dragged and dropped to build scripts, without worrying about complicated syntax.
Scratch also encourages creativity by letting children create characters, called sprites, and scenarios, or backdrops. Now, while narrating a story, children can learn basic computer science concepts.
Let’s discover Scratch programming together and unlock the coding world for your child!
Why Scratch is a Great Choice for Kids
If you’re a parent looking for engaging enrichment classes for your kids, scratch programming makes an excellent choice, and here’s why:
- Easy to Learn: Scratch uses a drag-and-drop interface that simplifies the programming process. Even without any prior coding experience, children can quickly grasp the basics and start creating fun projects.
- Visual: Unlike other programming languages that rely on cryptic text, Scratch uses colourful blocks to represent different commands. This appeals to the visual nature of kids and helps reinforce their understanding.
- Creativity Booster: With Scratch, children are not just consuming content; they’re creating it. It gives them a platform to create interactive stories, games, animations, and more, thereby fostering their imagination and creativity.
- Interdisciplinary Learning: Through Scratch, kids not only learn coding but also apply mathematical concepts, problem-solving techniques and storytelling skills. Hence, it provides an interdisciplinary approach to learning.
- Progressive Learning Curve: Scratch is designed in a way that grows with your child. They can start with simpler projects and gradually move to more complex ones as their understanding evolves.
Exploring the Building Blocks of Scratch
Before jumping directly into coding, it’s crucial to have a foundational understanding of the fundamental pieces of Scratch programming. Here, we are referring to the colourful building blocks or simply, blocks. Each block represents a command that tells the computer what to do, and they are the backbone of Scratch programming.
Categories of Scratch Blocks
In Scratch, blocks are divided into ten categories, each represented by a unique colour for easy identification. The categories are Motion, Looks, Sound, Events, Control, Sensing, Operators, Variables, My Blocks and Extensions. Let’s elaborate on these categories with some brief descriptions.
- Motion Blocks: These are blue-coloured blocks that control the movements of sprites, such as move, turn, and go to a specific location.
- Looks Blocks: The purple blocks alter the sprite’s appearance, like changing costumes, size, or even creating dialogue with speech bubbles.
- Sound Blocks: As implied by the name, pink blocks add sounds or music to your animation or game.
- Events Blocks: Hat-shaped and yellowish, these blocks control how and when scripts begin, for instance, when a key is pressed or when the green flag is clicked.
- Control Blocks: Orangish blocks that manage the flow of a script. They can repeat a section of blocks, stop a script, or create if-then scenarios.
- Sensing Blocks: The light blue blocks collect information about the sprite’s environment, like its position on the screen, the status of the mouse, or whether it’s touching another sprite.
- Operators Blocks: Green blocks process mathematical and logical operations.
- Variables Blocks: Reddish-orange blocks that keep track of information like score or timer that changes throughout the programming.
- My Blocks: Unique Blocks that you can define and use for more complex processes that repeat several times in your scripts.
- Extensions: These blocks offer more advanced features for your projects like connecting to hardware or translating languages.
Understanding these categories and learning where each block fits within them greatly accelerates your command of Scratch programming and fosters an awareness of the possibilities it offers.
Assembling Blocks in Scratch
In the Scratch coding environment, the Scripts Area is where you assemble your blocks to create scripts. Blocks connect to each other like puzzle pieces, ensuring that they ‘fit’ together logically. This structure encourages the learner to think critically about their programming logic, as certain blocks will only connect if their functions are compatible.
Scratch programming is an adventure that requires patience, creativity, and logical thought. By gaining familiarity with the blocks, their uses, and how they fit together, you give yourself a solid understanding from which to build more complex, engaging projects.
Sprites
Sprites in Scratch programming serve as project characters. They provide life and interactivity to your projects.
Creating a sprite is easy. Click on ‘Choose a Sprite from library’, pick a predefined sprite that suits your project.
Customize your sprite’s appearance, size, and stage position by clicking on the sprite and using the size and rotation tools and the position input boxes.
Sprites can be given unique behavior like voices and movements. This is applied more when scripting. Customizing sprites adds life to your Scratch project.
Tips for Creating and Customizing Sprites:
- Selecting sprites: Choose a sprite that suits your project. The sprite library is full of diverse options. If you’re creating a forest, you might choose animal sprites. If it’s a cityscape, perhaps a variety of people or vehicle sprites.
- Customize creatively: Don’t be afraid to get creative with your sprites. Change their size or position, flip them upside down, or make them invisible.
- Create from scratch: Use the paint tool to make your own sprite. It might be a little challenging at first, but it can be a rewarding experience once you see your original creation integrated into your project.
Creating and customizing sprites opens up a world of opportunity for your Scratch projects. Whether you’re sticking to the built-in library or designing your own, sprites are the characters that will bring your programming stories to life.
Utilizing Backdrops in Scratch
Backdrops in Scratch add depth to projects as they provide a setting for sprites to interact in. Options included in the library cover a range of outdoor and indoor environments. You also have the option to design your own settings for more unique and personal projects. Switching between backdrops in a single project is also possible which provides more dynamism and depth.
How to Use Scratch Scripts
Scripts are a critical component of Scratch programming as they enable sprites and backdrops to execute actions. Understanding how to implement scripts need an understanding of the main elements involved like events, control flow, and variables and lists. Scripts essentially animate your project and make it more interactive and engaging.
Making Interactive Projects using Scratch
Scratch programming encourages creating interactive projects, whether they’re games, animations, or stories. Such projects can react to user commands and actions.
Here’s an overview of the key parts of making Scratch projects interactive:
- User inputs: These are keyboard presses, mouse clicks, or responses to certain questions. They trigger actions in the project using event blocks.
- Sprites and backdrops: They form the setting of digital stories and games in Scratch.
- Loops and Conditional Statements: They control how a project responds to user actions or other events.
- Variables: They keep track of user inputs or gameplay progress, adding uniqueness to each project.
Scratch interaction encourages children to learn programming essentials and bring their creative ideas to reality.
Building Your First Project in Scratch
So, you’re ready to build your first project in Scratch? That’s great! Let’s walk through the process step by step.
Firstly, sign in to your Scratch account. If you don’t have one yet, you can create a new one for free by visiting the Scratch website. Once you’ve successfully logged in, click on the ‘Create’ tab at the top of the homepage to initiate a new project.
Pick a Sprite
Start by selecting your first sprite from the Scratch library. Click on the ‘Choose a Sprite’ button located below the stage area. There, you’ll find a variety of sprites to choose from. For your first venture into scratch programming, you might want to select a simple object or character.
Choose your Backdrop
Next, set the scene with a backdrop. Similar to picking a sprite, you just need to press on the ‘Choose a Backdrop’ button. These visual elements are essential in creating a more engaging and visually appealing project.
Create your Script
Once you’ve picked your sprite and backdrop, the next step is to breathe life into your sprite with scripts. Scripts make your sprites move, interact, react and essentially come alive. To create a script, simply drag and drop the blocks from the block palette into the scripting area.
Testing and Debugging
Always remember to test your project regularly while building it. This will help you catch any bugs in your script and keep you on track. If your sprite isn’t behaving as you planned, don’t worry! Debugging is an integral part of programming and something even professional programmers spend a lot of time doing.
Save and Share
Once you’re happy with your creation, don’t forget to save it. You can also share your project with the Scratch online community, your family, and friends, by clicking the ‘Share’ button. You never know who you might inspire!
Remember, the goal isn’t perfection, especially for your first project. The primary objective is to get a feel for Scratch programming and to have fun. The more you play around with sprites, backdrops, scripts, and blocks, the more your confidence will grow. Enjoy this rewarding journey into Scratch programming!
Conclusion
Let’s wrap things up. Your child’s journey on Scratch programming can prove to be both fun and rewarding, with an array of creative outlets to explore and enjoy. The platform introduces concepts like blocks, sprites, scripts, and backdrops in a simple yet engaging manner, which kids will find easy to grasp.
Remember, starting with Scratch could well be the launching pad for your child’s passion in coding. This immersive, interactive platform isn’t just about teaching programming; it also encourages creativity, logical thinking, and problem-solving skills. In a nutshell, Scratch is an excellent springboard to the fascinating world of coding.
FAQ
Here are some of the most frequently asked questions about Scratch programming for those just getting started. The answers to these queries can provide some extra insight and guidance, making it easier for you and your child to dive into this fascinating world of coding.
- What is Scratch programming?
Scratch programming is a visual programming language designed specially to introduce children aged 6-16 to the exciting world of coding. Scratch enables young learners to create their own interactive stories, games, and animations by snapping together coding blocks in a drag-and-drop interface. It’s an effective and engaging way to cultivate computational thinking, problem-solving, creativity and collaboration among children.
- Is Scratch suitable for beginners?
Absolutely, Scratch is ideal for beginners! Scratch has been specifically designed to be an introductory programming language, making it an exceptional choice for kids venturing into the world of coding for the first time. Its visual interface is user-friendly and intuitive, promoting hands-on learning.
- Can Scratch programming be used for advanced coding?
While Scratch is designed as a beginner’s platform for understanding basic programming concepts, its functions and capabilities can still accommodate more complex projects. Users can create advanced animations, stories, and games as they progress in their coding skills.
- Is Scratch programming limited to game creation?
No, Scratch isn’t just for game creation. Even though many users lean towards game development, Scratch can be used for a broad range of projects. This includes creating interactive stories, animations, music, and art.
- Are there any safety concerns to be aware of when my child uses Scratch?
Scratch is a moderated environment, and it prioritises safety. Users under 13 will need parental approval to share projects online, and there are community guidelines to ensure a respectful and safe space for all users. However, like all online environments, it’s vital to teach kids about digital safety.